The rising trend of automation is anything but automatic. Companies are working overtime to build technology that will enable factories to operate with considerably fewer human workers.
Speculation is rampant, and while people have strong feelings about what automation may mean for society and the economy, nobody is really sure what automation will mean for the future.
How does automation actually work? It’s a complex topic beyond the scope of a single article, but one of the best places to start if you want to understand how automation is shaping industrial production in the 21stcentury is to look at the machines which make automation possible.
Automation and the Problem of Quality Control
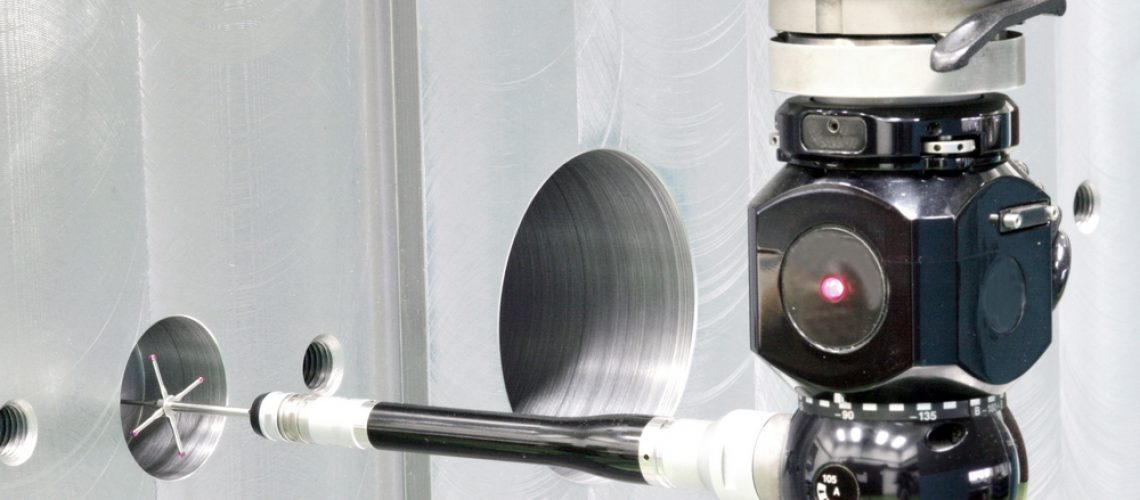
While most production lines are now robotic to some degree or another, the piece of equipment that has helped move automation forward in recent years perhaps more than any other is the coordinate measuring machine (CMM).
CMMs are machines equipped with probes and programmed with software that enables them to scan newly produced parts, sometimes without even touching them. They can work with extreme accuracy, even up to a range of 17 microns. Assembly lines that are moving toward greater automation often rely on coordinate measuring machines to scan parts to make sure they’re built to spec and are the right size.
CMMs equipped with the latest software are able to transmit information about erroneously made parts directly with other machines in the production line, catching mistakes faster and more efficiently than human workers could.
What Separates Metrology Companies?
Metrology is the science of measurement, and companies that offer metrology services appeal to customers by showing how their equipment streamlines production and provides greater accuracy.
Some CMMs are designed for measuring parts as small as centimetres or as large as 80 metres long. Some of the measuring equipment uses tactile probes, while others use white light or laser scanners to handle parts that are very small, or which are too large to fit inside a conventional CMM
These machines are fully programmable, so they can perform whatever custom scanning job is required. They’re very advanced and there’s a lot of fascinating things to know, so click here to learn more about CMM machines.
Other Applications for Metrology

Metrology labs are not only for factories or assembly lines but advanced universities, like the University of Waterloo, which use them in its Institute for Nanotechnology to see, measure, manipulate and build materials at a nanoscale.
Nanotechnology is fascinating because the materials themselves changes properties, sometimes very intensely, when their size approaches that of a few tens or hundreds of atoms. Working at this scale is an essential part in new research and developing technology. Metrology may be the only way to reliably measure and manipulate materials that small.
The scale CMM machines occasionally work with in labs may move to production lines in the future— breakthroughs that take place in laboratories under controlled circumstances may make their way in some form to the factory eventually. It’s easy to imagine an application for machines which are capable of both working on such a small scale, and working so effectively on their own to ensure that larger parts that are built are of uniform size. We may not know with certainty what automation will look like in the future, but with equipment this advanced it’s poised to fulfill all of its most optimistic potential.
Image Credits: Automation from Stana/Shutterstock

